To end off the summer of my freshman year, I wanted to build a sweet home server setup. The server would store home photos and videos that were scattered across the house in SSDs, SD cards, CDs, and DVDs. I wanted to consolidate all these onto one device, with redundant storage and easy access. I also wanted a place to store all the DVD and Blurips I've been working on from my family's collection.
Researching
The first step is researching which parts you want to get. This all depends on what you
want your NAS (Network-Attached Storage) to do. Traditionally, they are exclusively used for
storing files in a filesystem connected to a network, but I'm stretching the definition a bit to include
running my virtualized apps, such as Jellyfin.
My go-to website for picking my PC parts is the aptly named pcpartpicker.com.
This website's great as not only does it give you direct links to retailer sites where a part is being sold, but the price history
of that part, and if it's compatible with the rest of your build. Here is my build:
Motherboard: MBD-X11SCH-F-O
CPU: Intel Xeon E-2176G
RAM: 32 GB of Crucial ECC UDIMM DDR4 RAM at 2666 Mhz
Case: Fractal Design Node 804
Storage: WD Red Plus 8TB NAS Hard Drive x2
Power Supply: Corsair Modular 80 Plus Gold 650 W
I picked this combination for a few reasons. This particular SuperMicro motherboard supports IPMI,
ECC memory, has 8 SATA3 ports for hard drives, and supports the C246 chipset.
All of these attributes make for an amazing TrueNAS setup with ZFS. The ZFS file
structure has built in redundancy features such as copy-on-write, built-in snapshot functionality,
and data integrity checks. ZFS makes heavy use of RAM for these features, which is why
ECC (error correcting code) RAM is a must for this particular filesystem, although technically not required.
Additionally, the 8 SATA3 ports allow for plenty of storage expansion. Photos and videos take up a lot of storage
space, so I opted for two 8 Tb NAS hard drives in a mirrored array (RAID 0). This allows for 1:1 data redundancy
if one drive fails, and also allows for faster read times since it can pull from both drives. WD's NAS hard drives are supposed to have great reliability, and they
were relatively cheap for 8 Tb. the C246 chipset allows
for hardware accelerated transcoding with Intel QSV, which will be great for media streams. The Intel Xeon CPU I chose has capable transcoding abilities
with 6 cores. My motherboard also has support for IPMI, which allows for remote
control of the computer. This allows for remote power cycling, diagnostics, and BIOS access.
And with the use of a VPN, I can easily manage my home server from anywhere.
Ultimately, my NAS build came out to be around $1,000. I bought a combination of used
and new parts that I found on sale. When building a new computer, if you are going used,
I would recommend the CPU, RAM, and the case (if screws come included). Never buy a used
motherboard, power supply, or hard drive, as they are usually the first items in your computer
to fail. Plus if you do buy used, at best the parts can be sketchy, and at worst they can be
fire hazards (power supply)!
Building
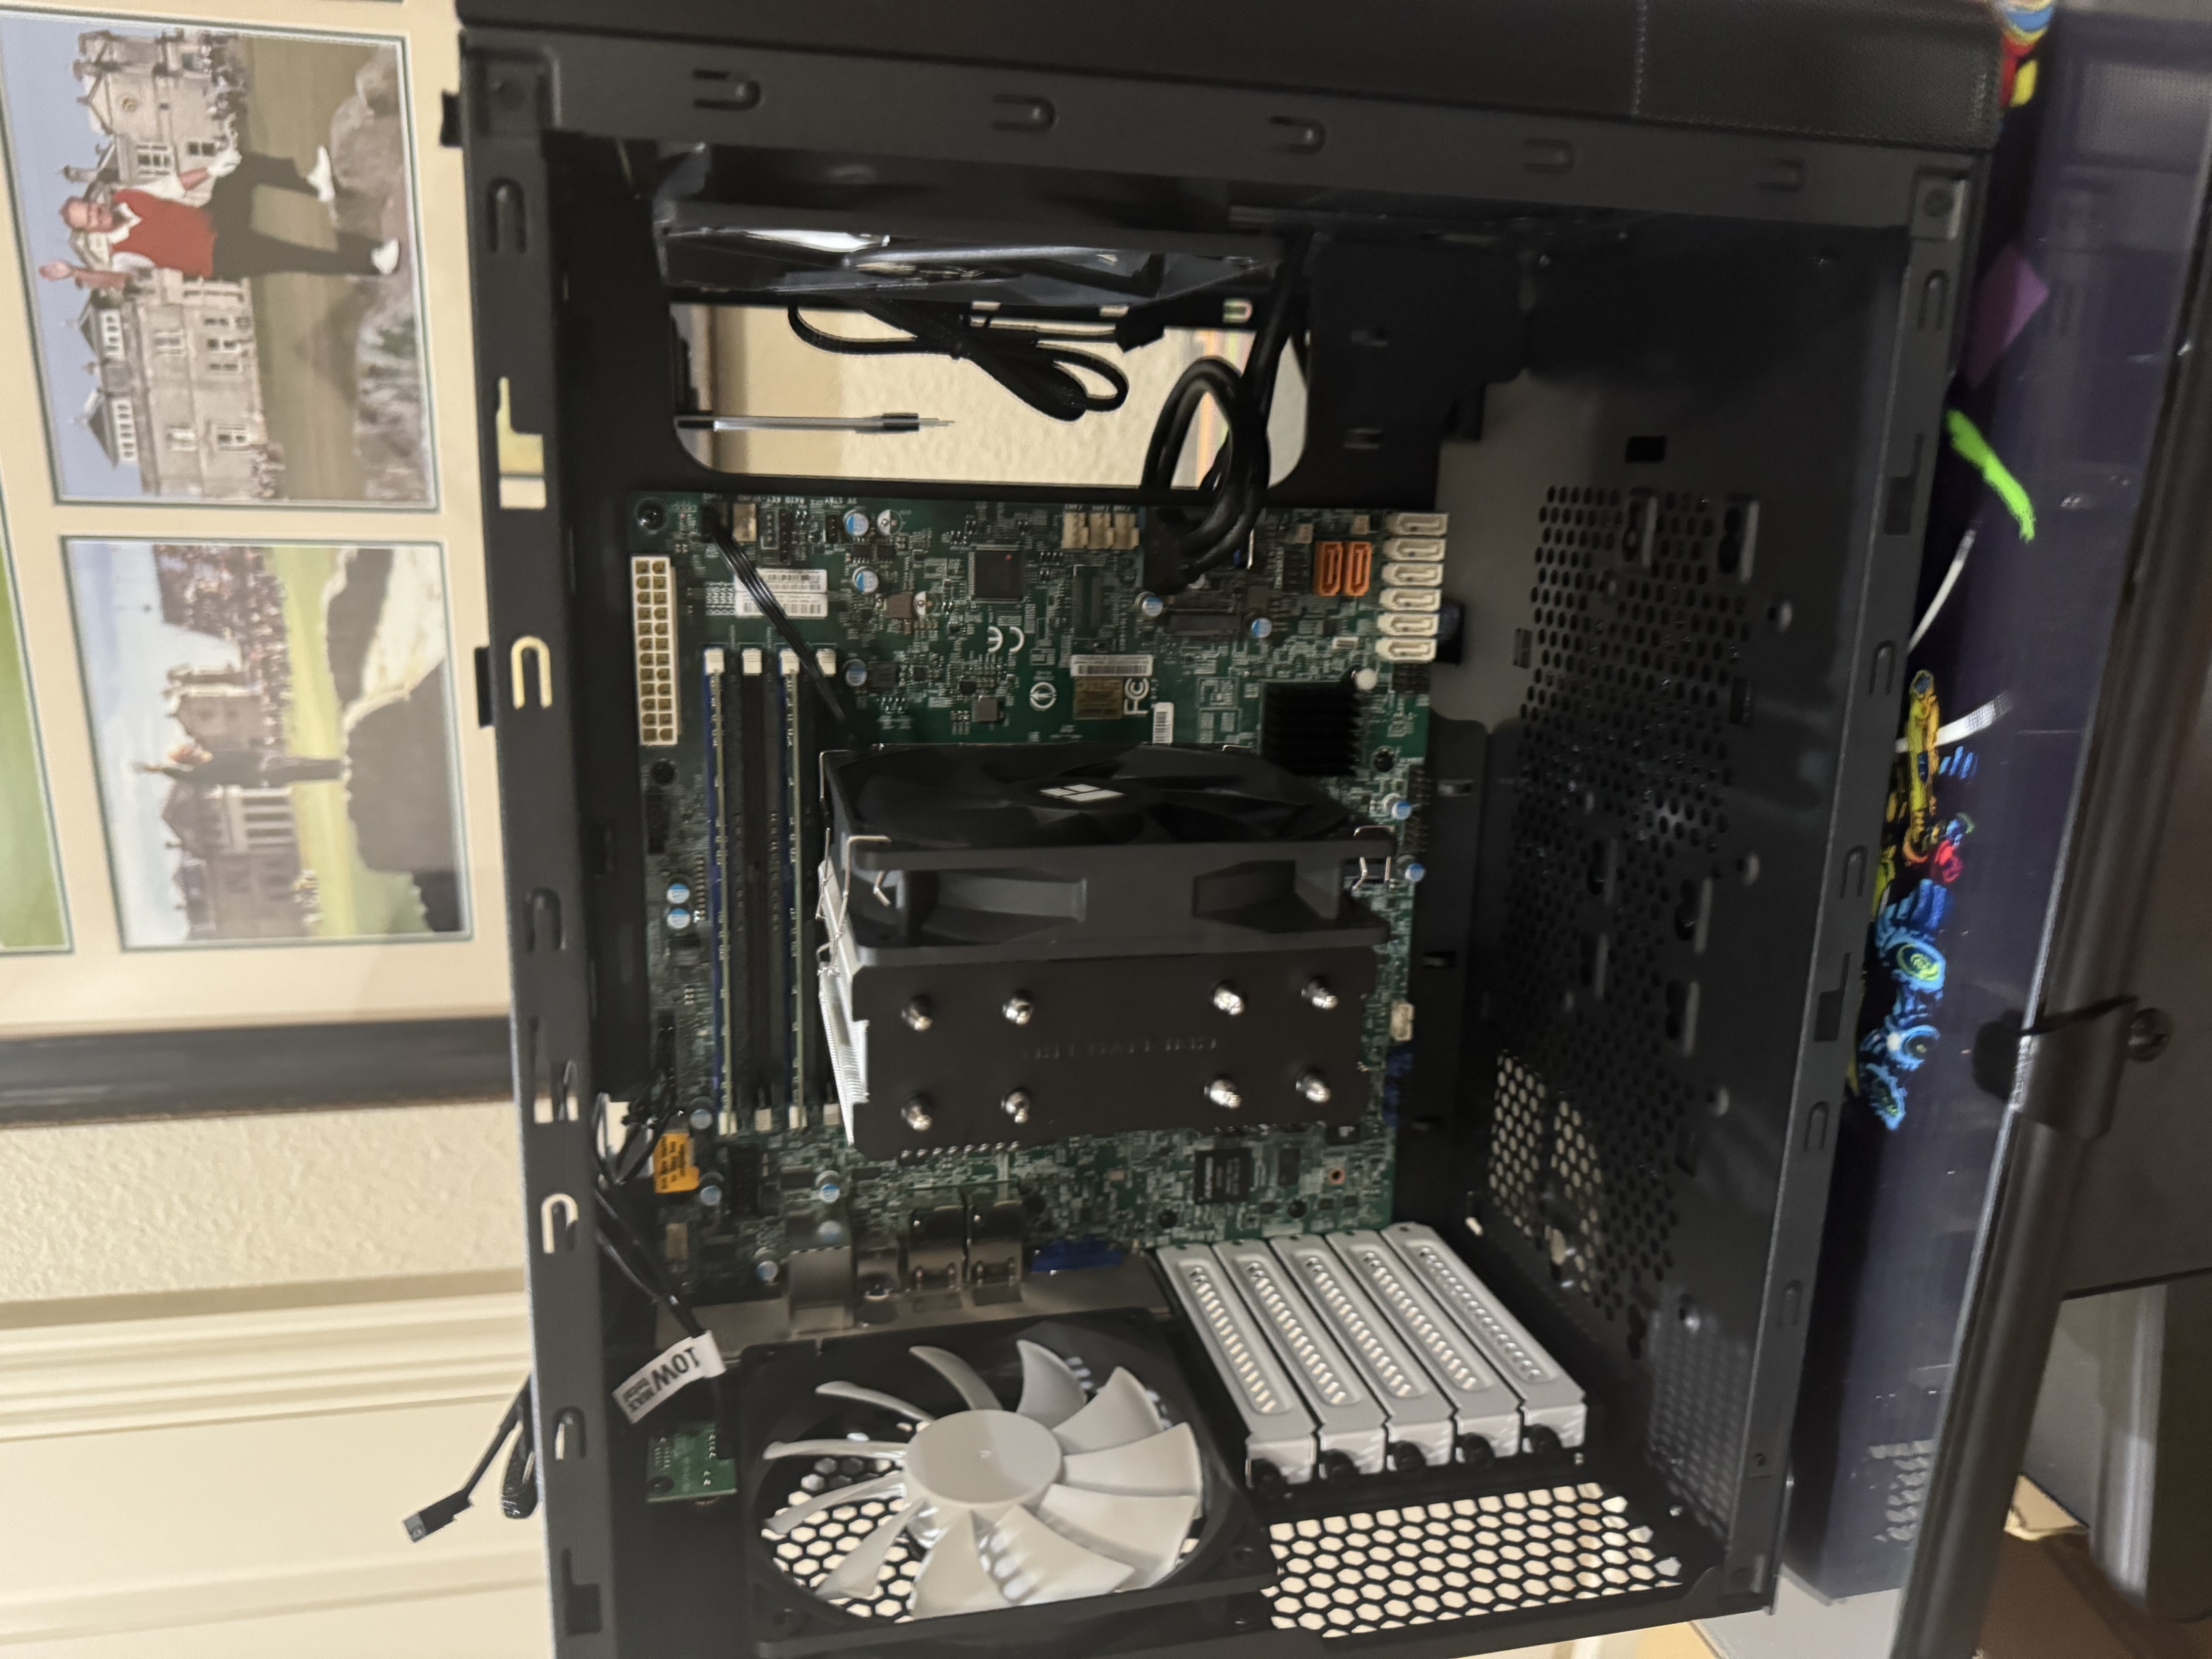
The computer case I chose has a unique form factor. It has two distinct sections: one to hold the 8 hard drive bays and the power supply, and the other side holds everything else like the motherboard.

I always make sure to put everything on the motherboard first before putting it the case, because it's pretty hard to screw and attach stuff in the case. Below is a picture of the CPU installation.
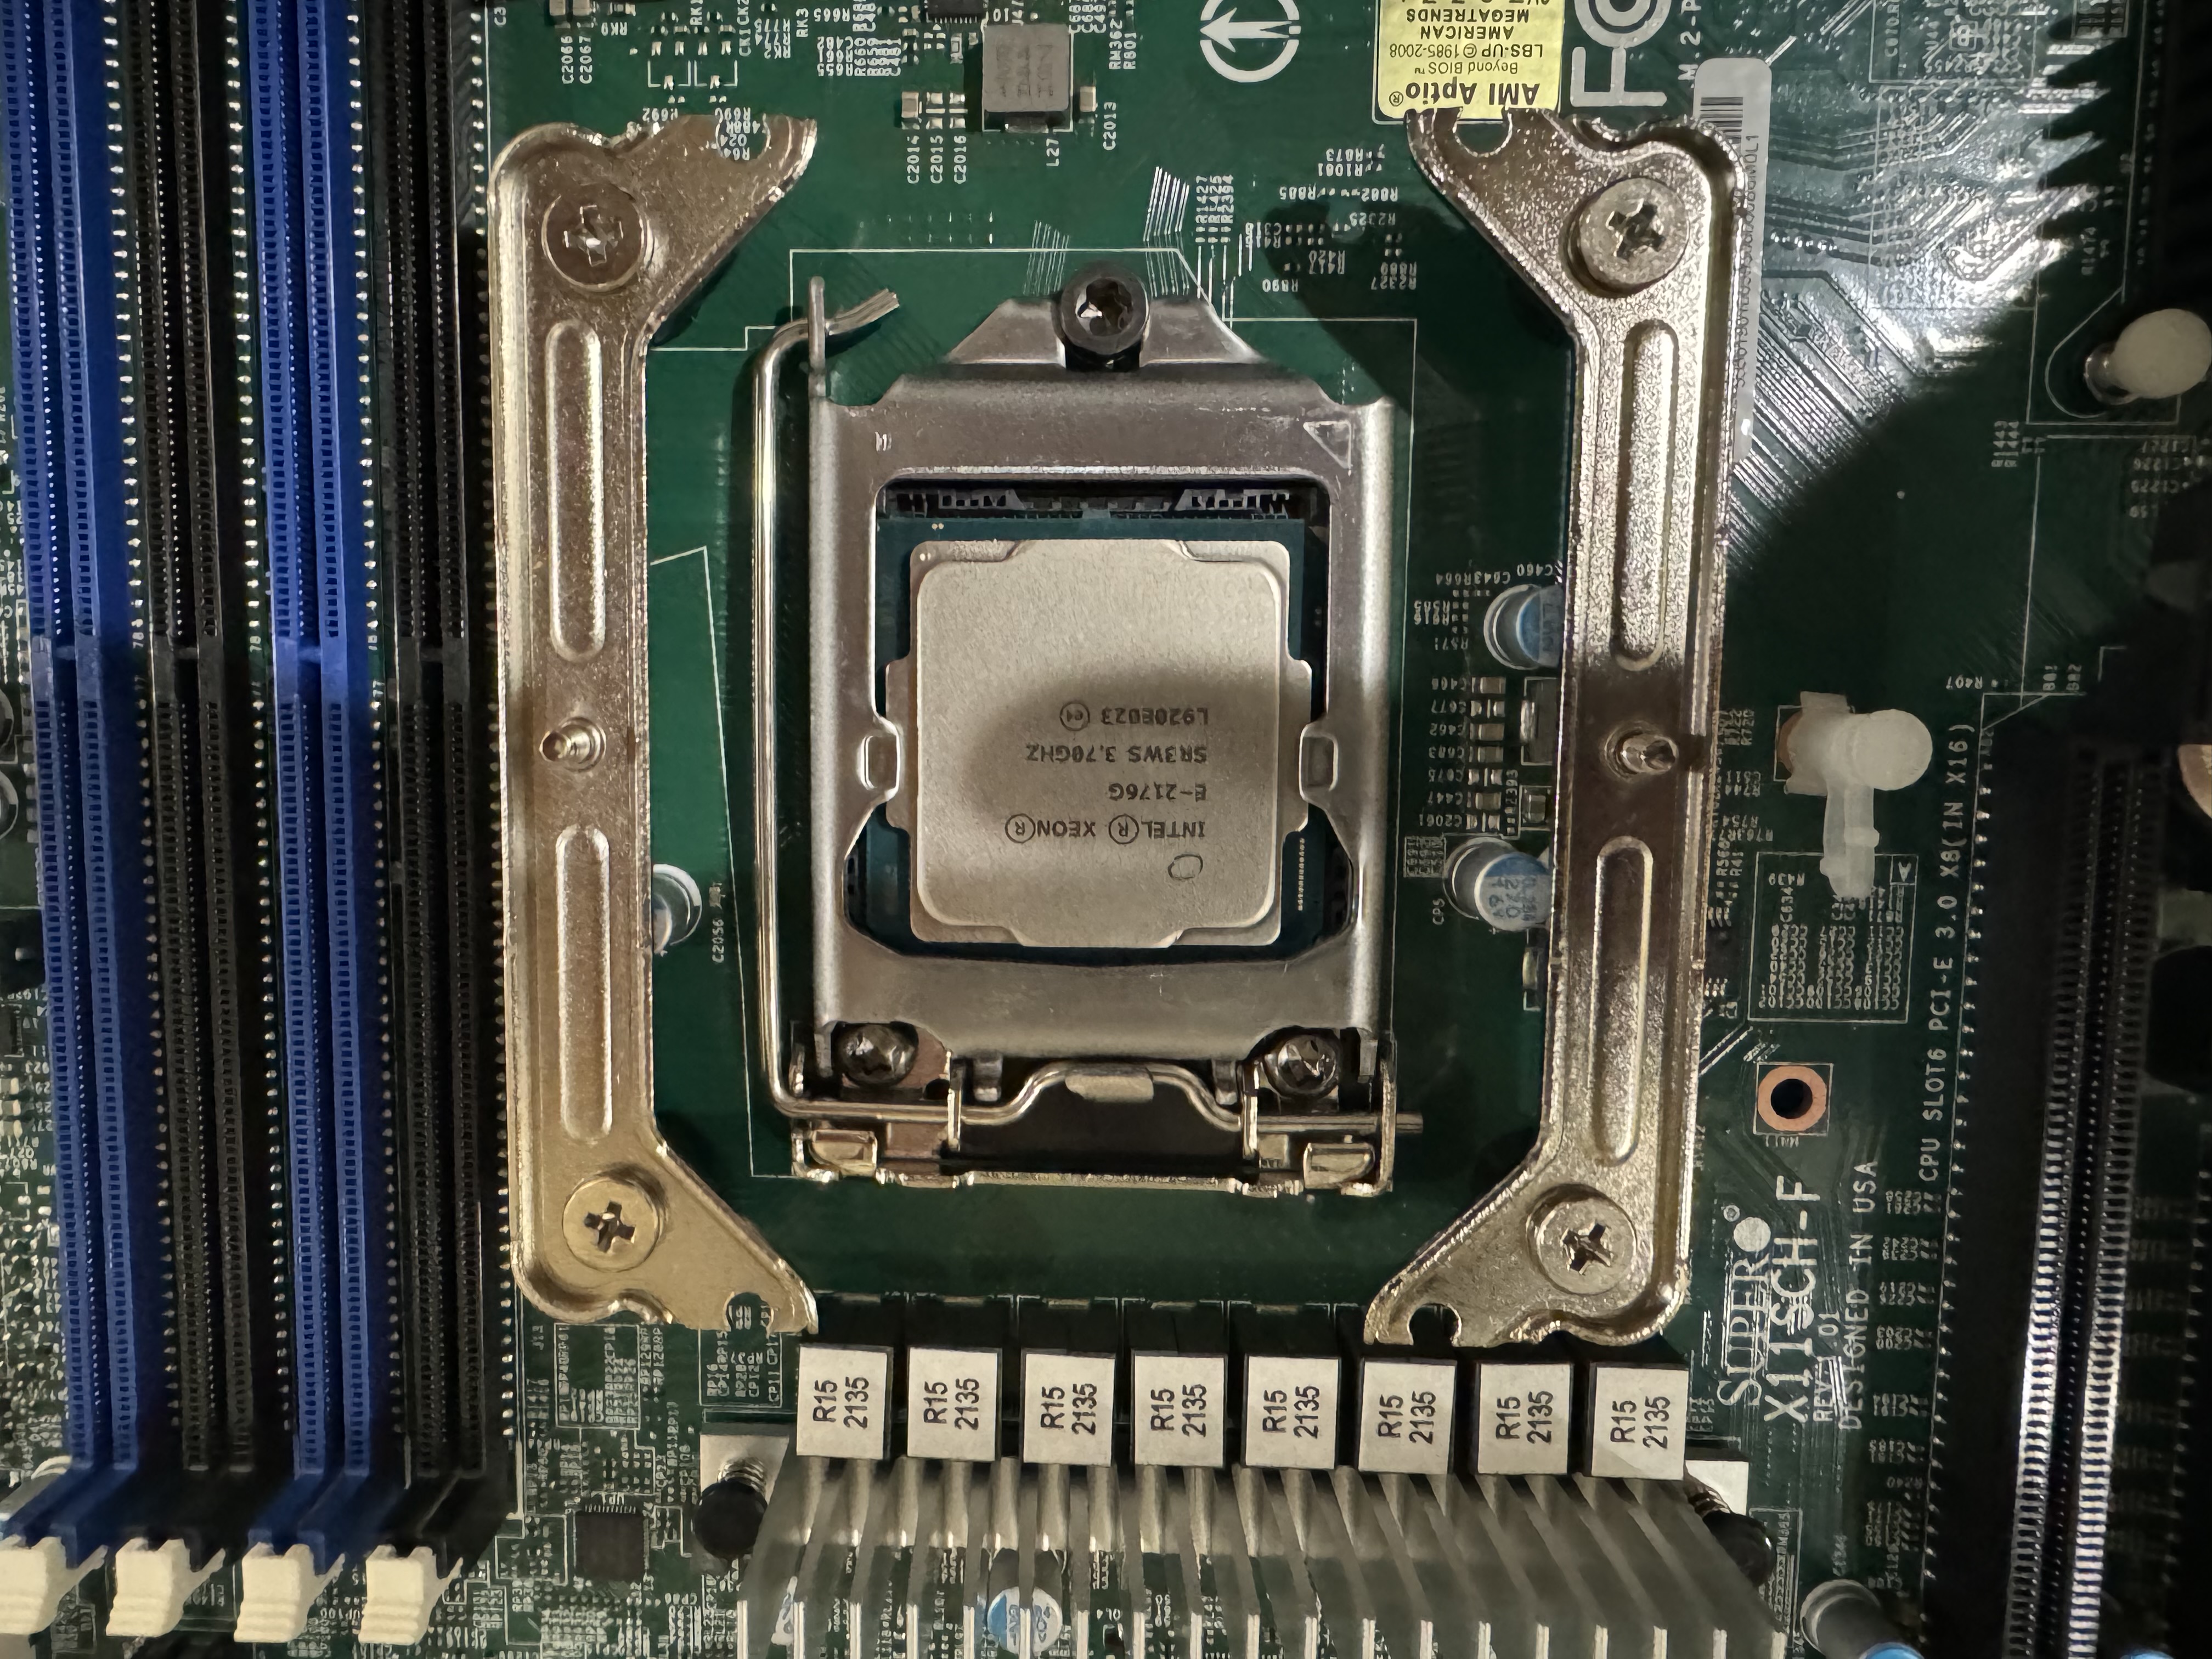
Because the RAM slots are above the motherboard instead of the side, I accidentally installed the CPU cooler the wrong way. Always pay attention to which side your IO shield is on in relation to your case!
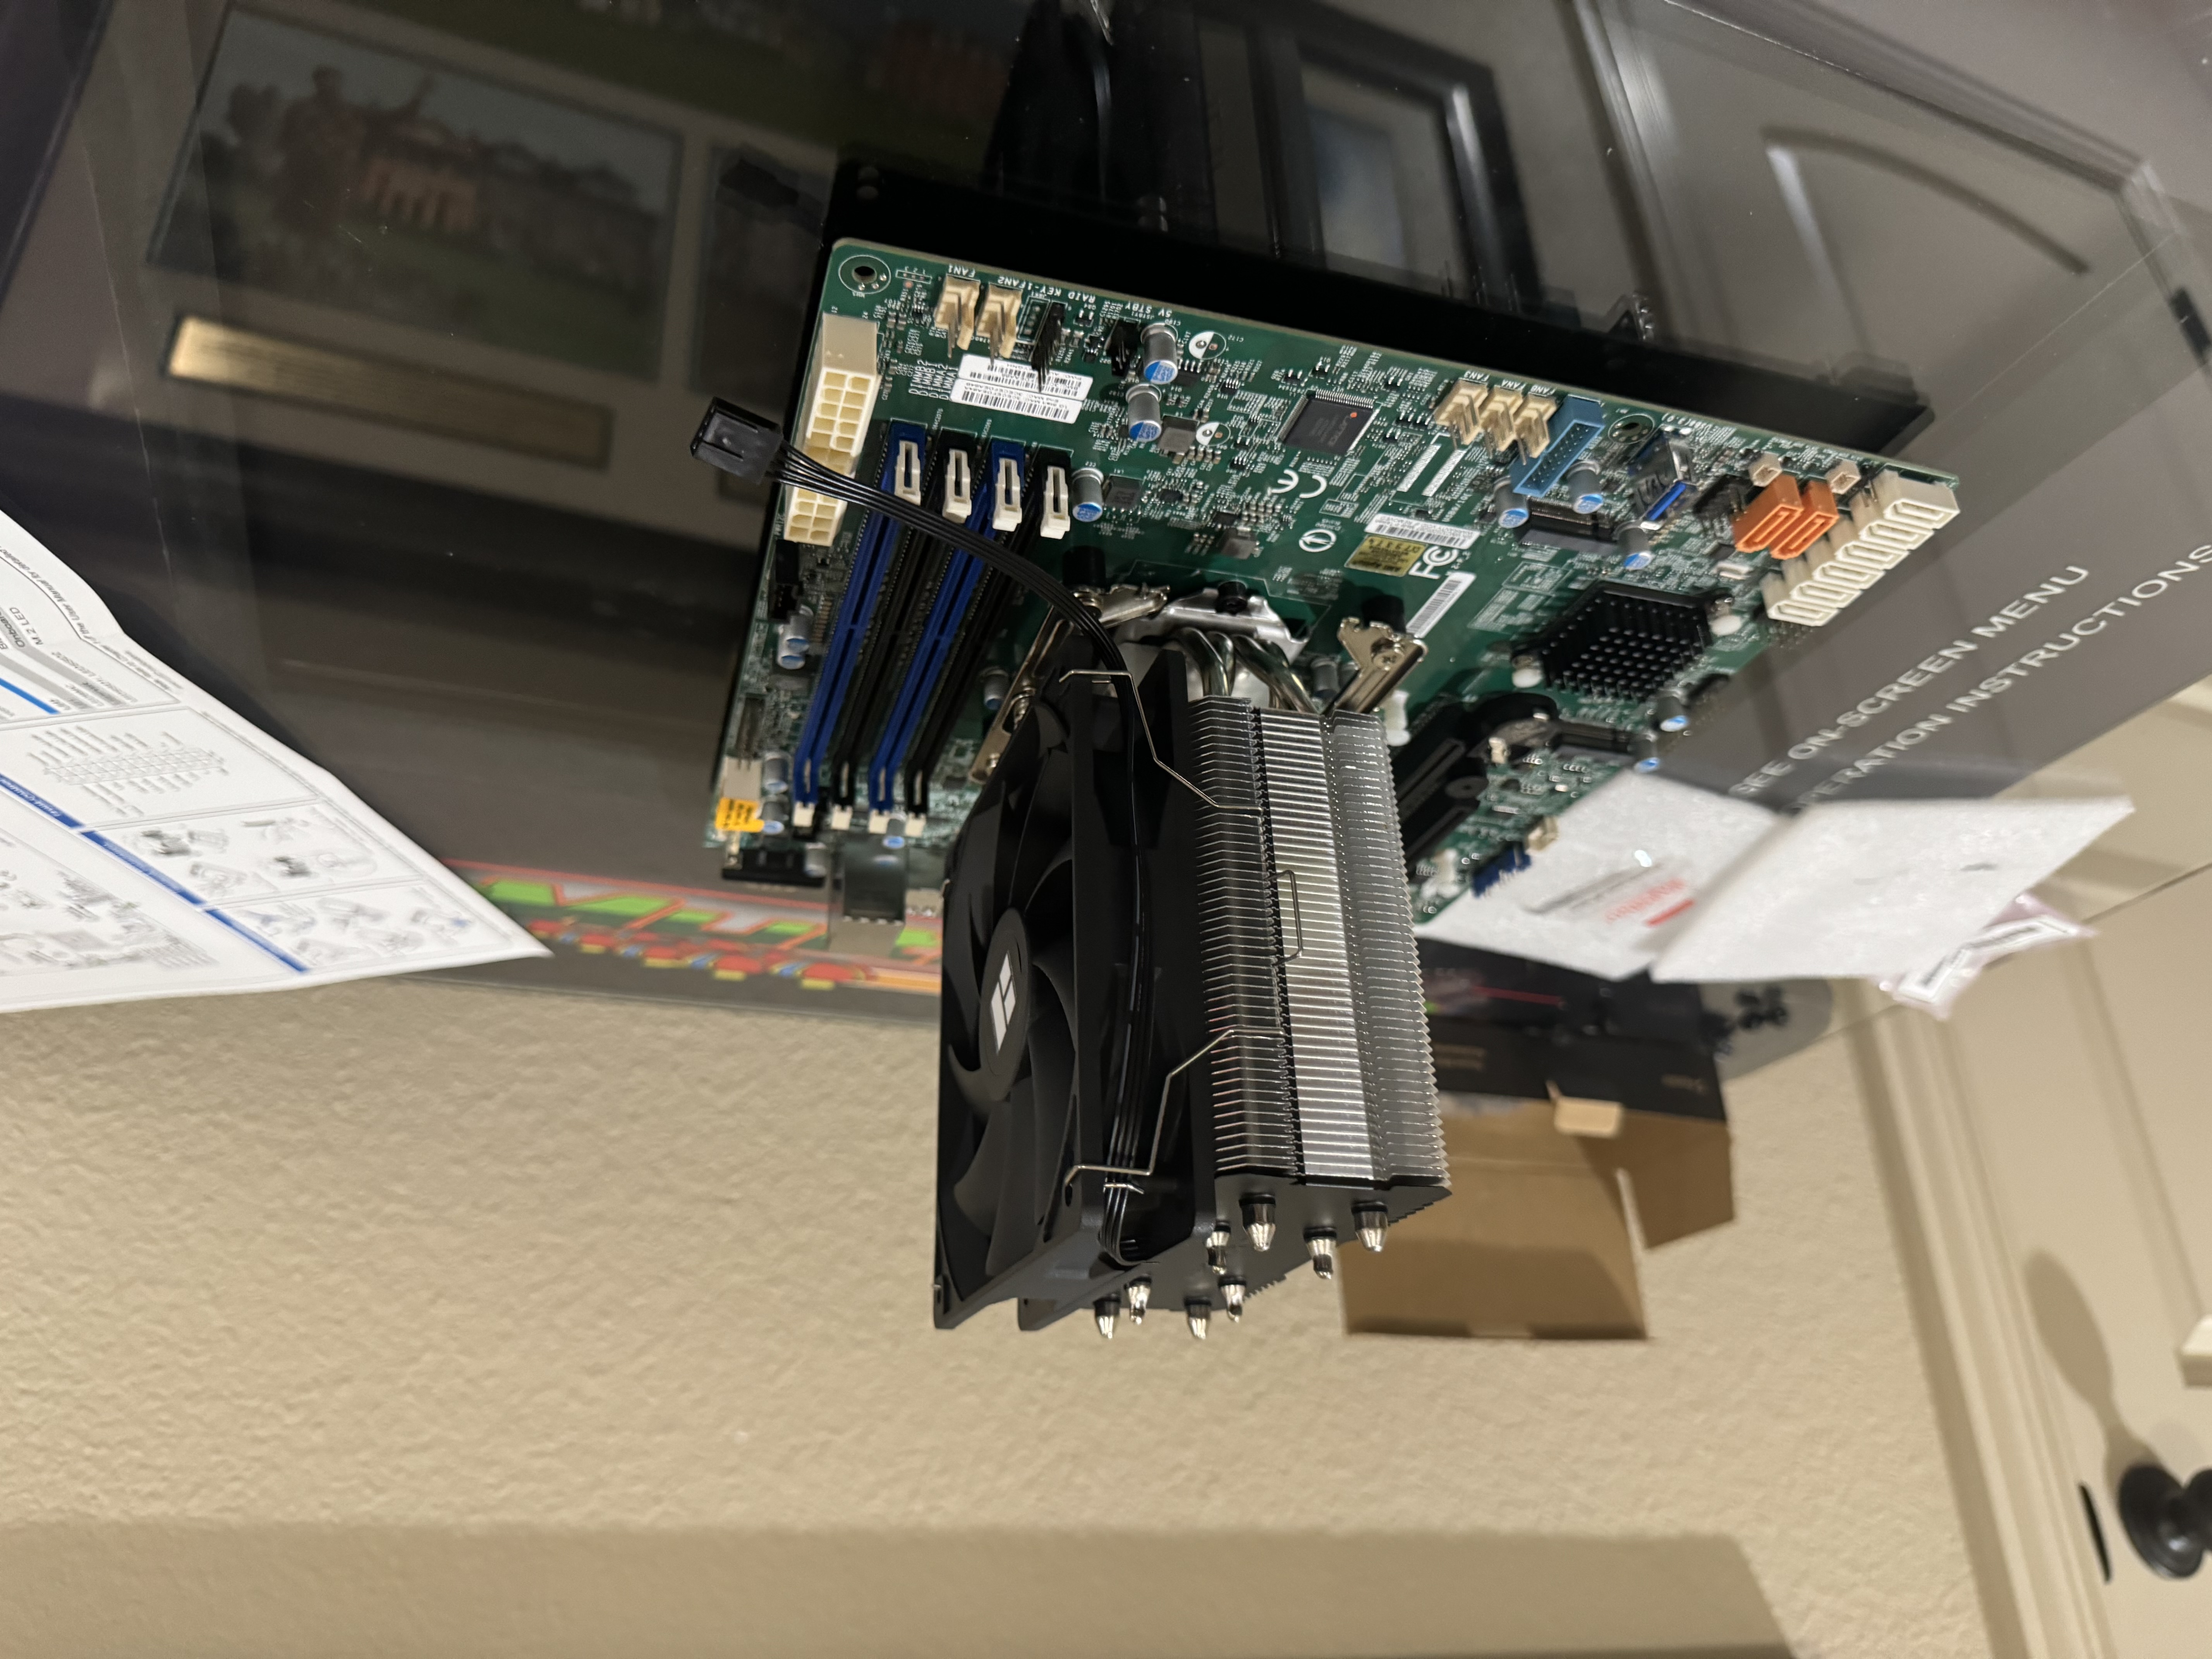
Once I had everything in the motherboard and in the right orientation, I screwed it into the case. After that, all that's left to do is plug in the USB and LED case wires, fan wires, SATA3 hard drive cables, and power supply cables.
Also fun fact, you will need two ethernet cables for wired connectivity, as the chip that allows for IPMI actually runs independently of the computer and even has it's own IP address!
Setting Up The OS
The operating system I will be using is TrueNAS scale, a Linux based operating system
with built-in support for virtual containers with Docker. TrueNAS is meant to be installed directly onto
storage and not through a hypervisor, which is exactly what I'll be doing.
I first made sure I had my boot storage installed in my computer. I chose to use
two 120 Gb M.2 for a redundant boot drive since my motherboard came with two M.2 slots.
Next, I installed a USB live boot from the TrueNAS website
onto a USB drive.
After plugging the USB drive into my computer and choosing it to boot, I followed the simple
on screen instructions. I made sure to choose that I wanted a redundant boot drive (use both M.2 storages).
Once TrueNAS Scale finished installing, I rebooted into the BIOS to change a couple settings before
going into my freshly installed boot drive. I changed the power settings so that the computer always turned back on automatically
if power goes out, and I made sure my boot drive was the first slot in the boot order.
After rebooting into the boot drive TrueNAS was just installed on, it should tell you the IP address of the web server
TrueNAS scale runs on, which is where the setup will continue and where TrueNAS will be managed 99% of the time.
From there, all I really had to do is set up an account and storage pool and then I was free to go!
You can set up all sorts of things, like allowing your storage to be accessible through the Windows file explorer
as a network drive, assigning account permissions to certains folders, setting up automated snapshots, docker apps, and so much more.
Right now, I have a Jellyfin server set up for my movies and a Windows SMB share set up for accessing family
photos and videos. TrueNAS is a powerful tool for starting and growing your own homelab, and I wholeheartedly
recommend it!
Thanks for reading!